Classroom Project: Crate Bench Tutorial
Am I the only one who is in constant project mode over the summer?! I absolutely LOVE planning for my classroom, and I take advantage of the down time to throw in some fun projects and ideas. I wanted some extra seating for my library area so my students could really utilize the space. I didn't want to buy chairs or bean bags (too expensive), and I also wanted something that would help define the space.
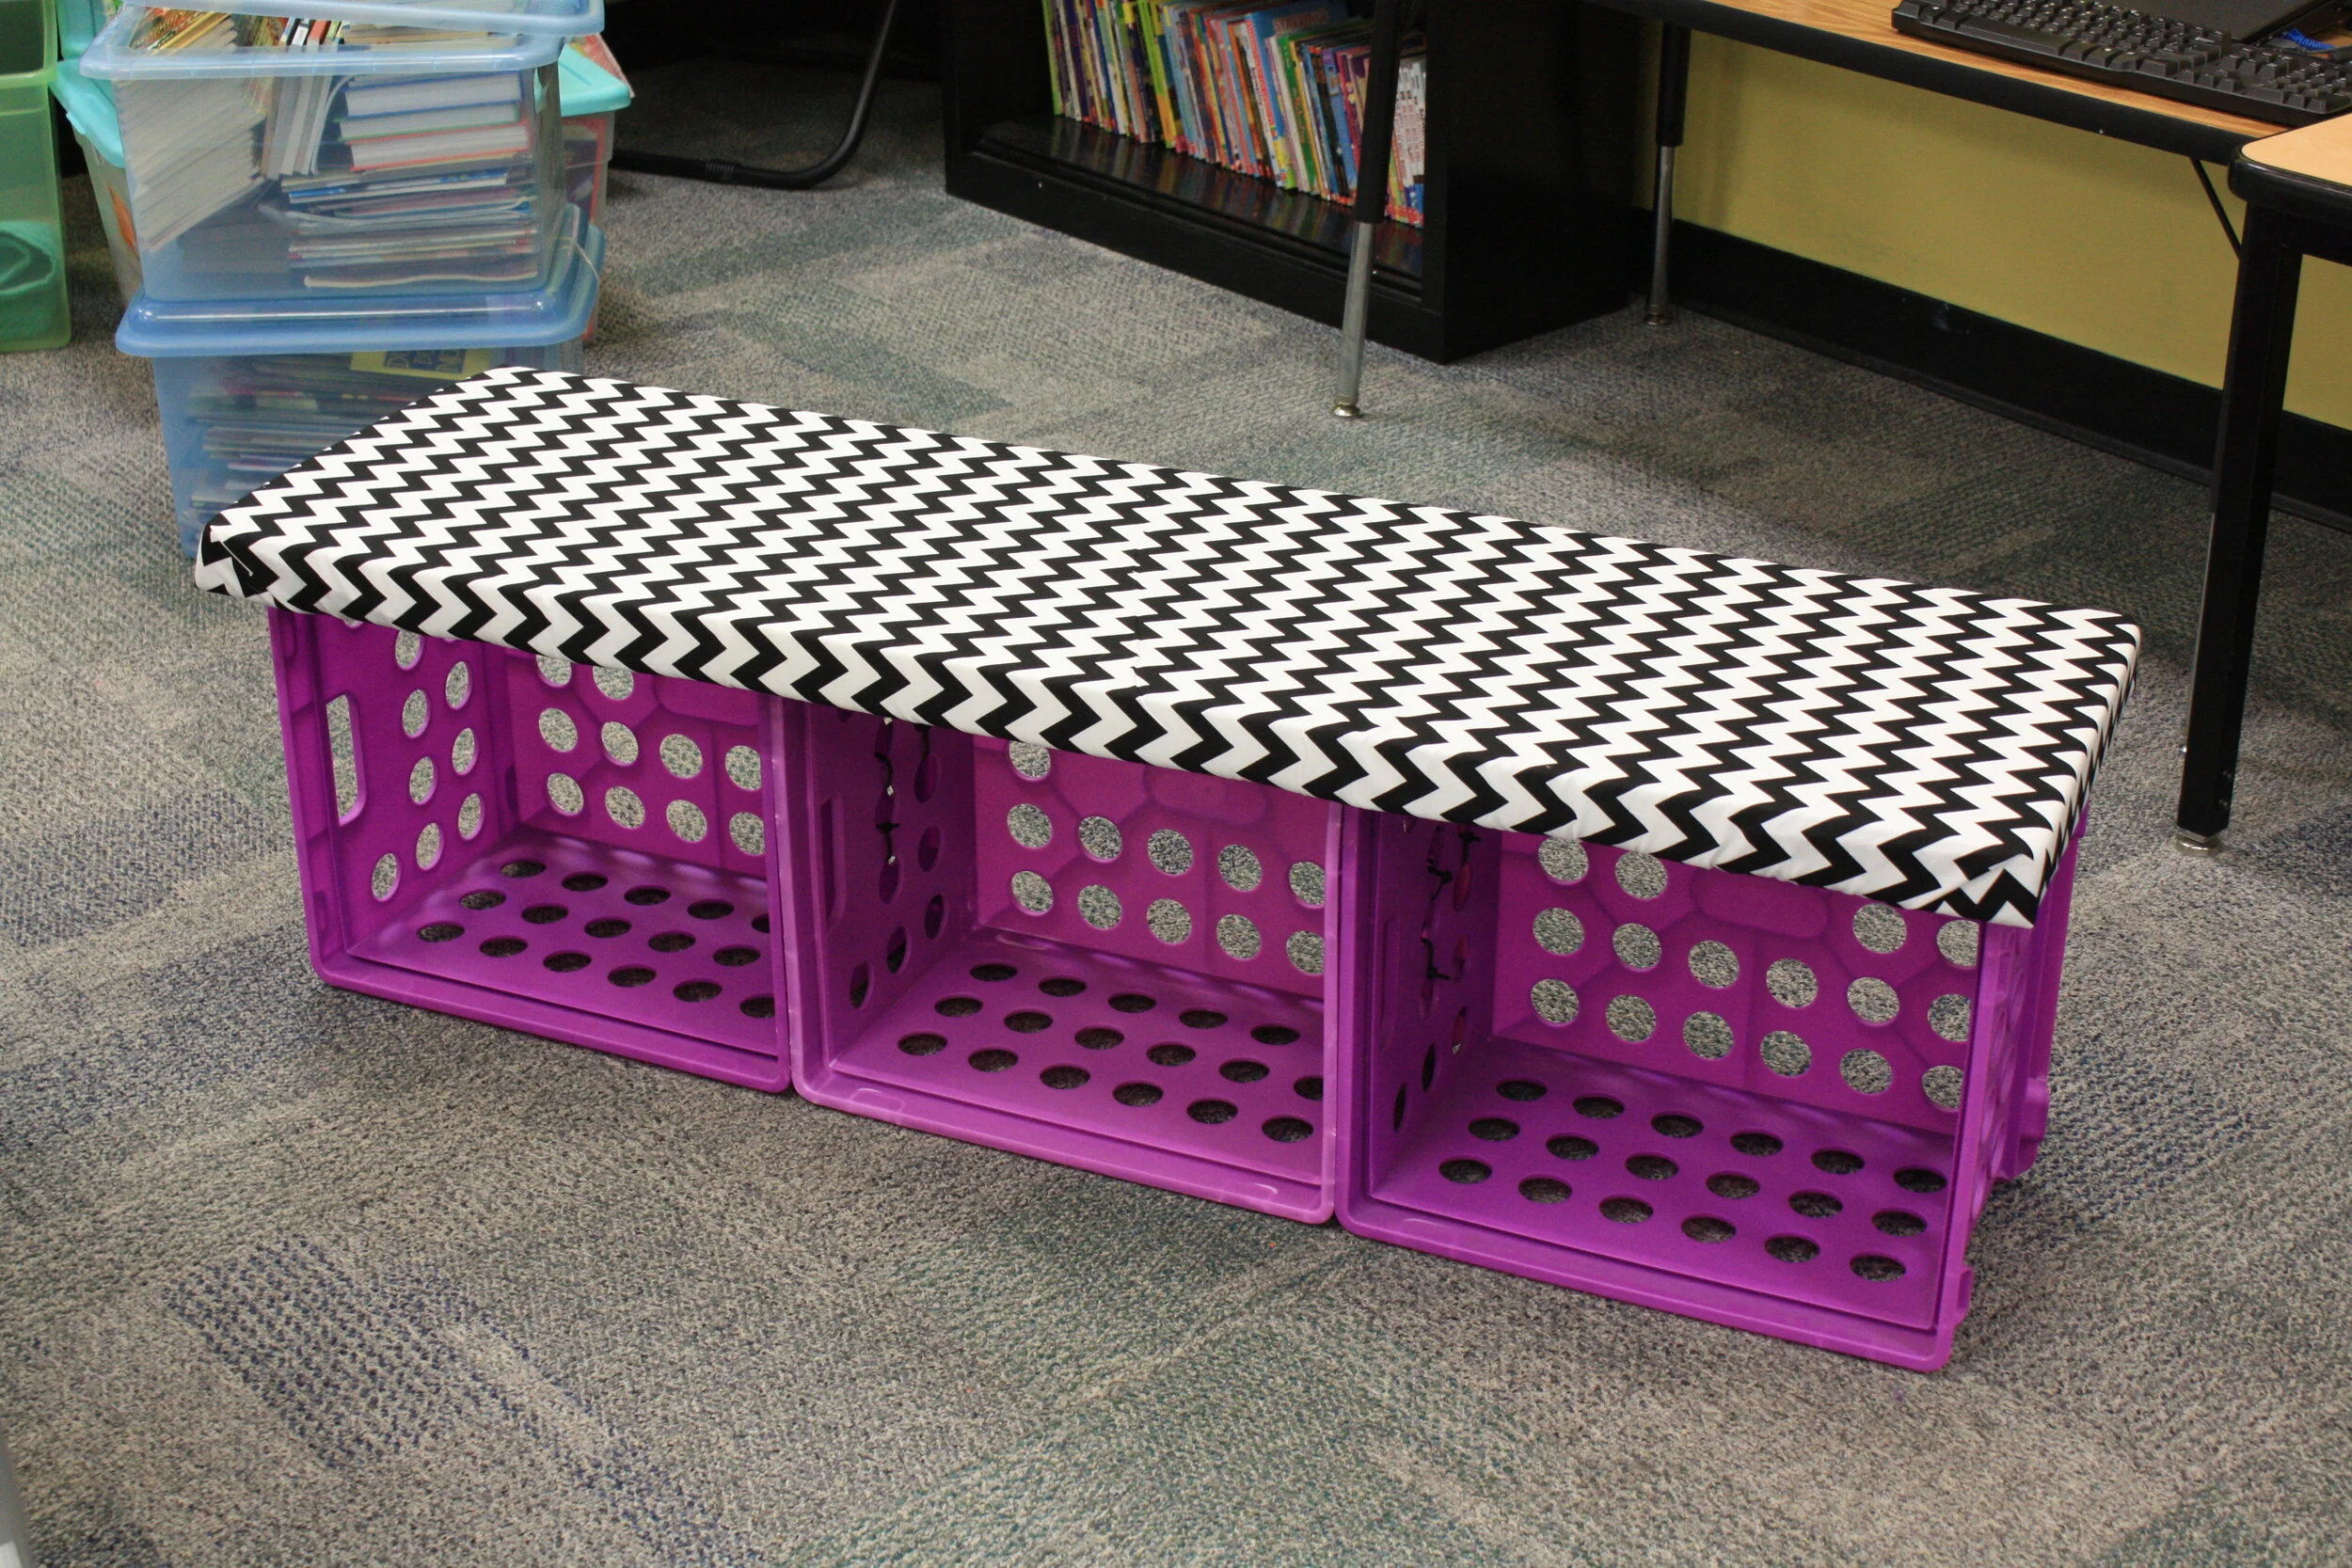
I came up with this crate bench - it cost less than $20, and took 30 minutes from start to finish. And for all my non-crafty friends out there, it is NO SEW! Can I get an aaaamen?!
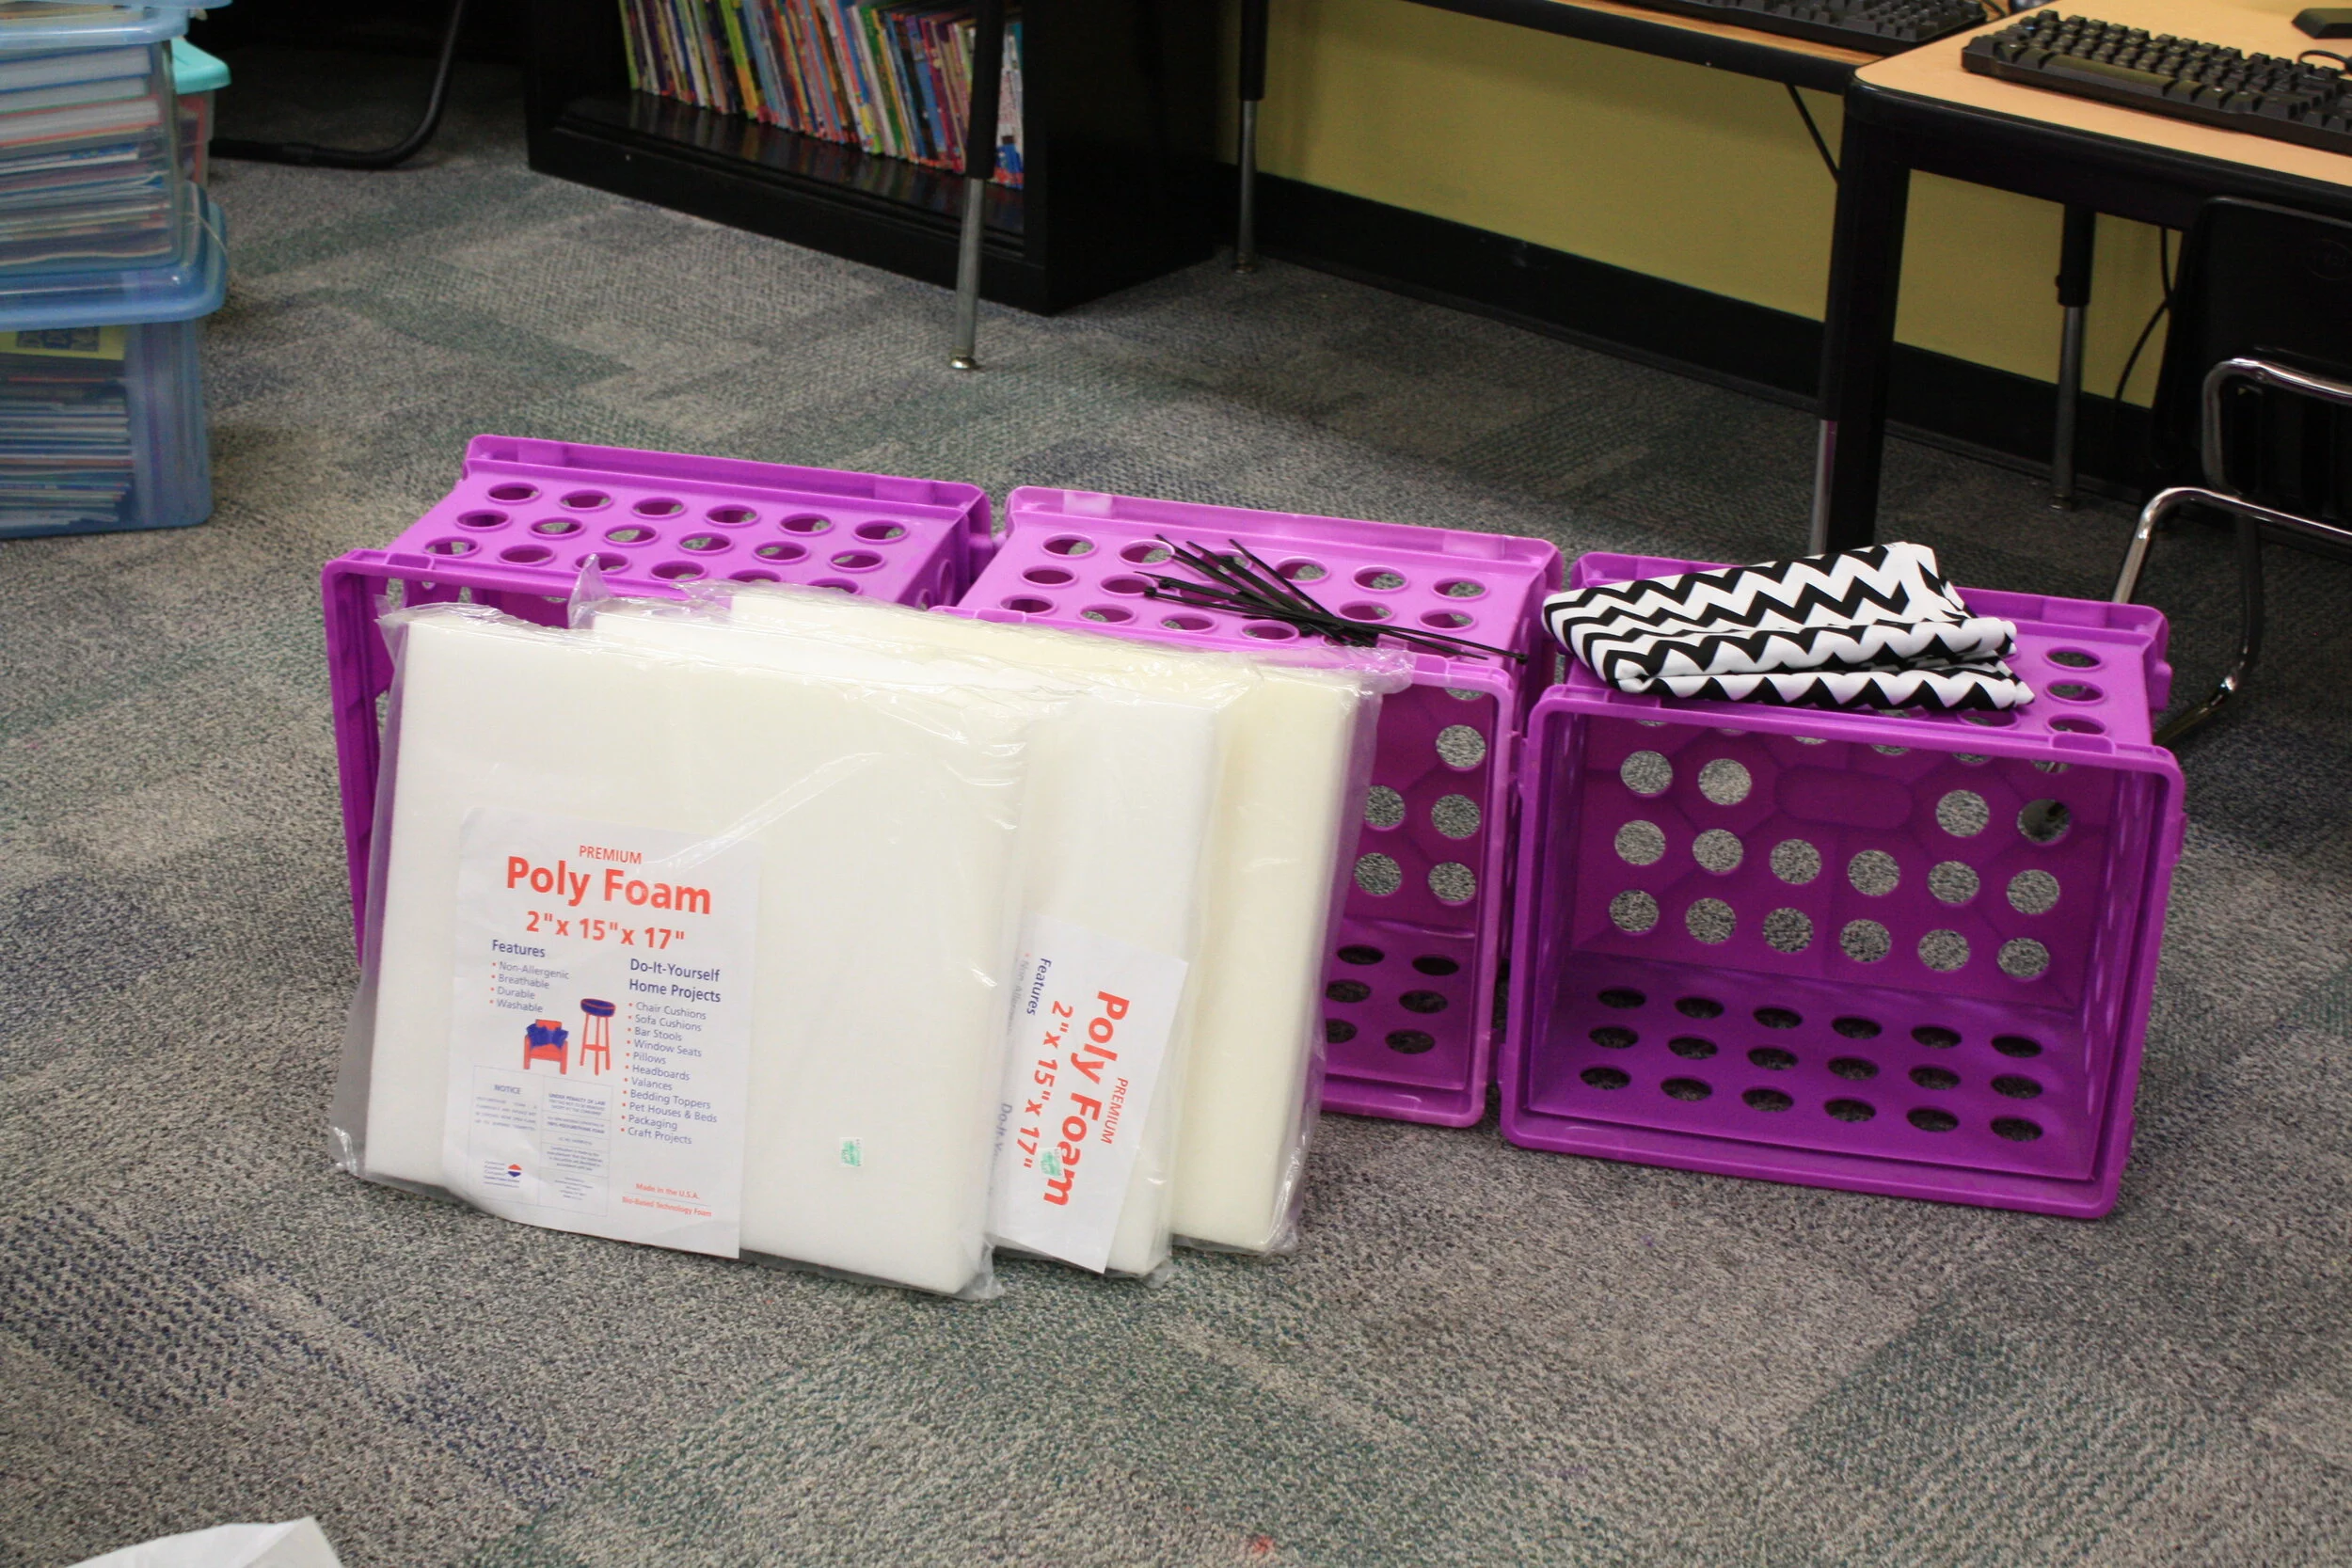
I had these crates on hand already, so that cut down the cost for me. However, during back-to-school time, these crates are EVERYWHERE!! I've seen them at Target, Wal-Mart & Big Lots in lots of fun colors for $4-$6 a piece.
You'll need:
3 Crates
2" Foam (I got mine already in squares from Hobby Lobby, but you could also buy a roll and cut it)
2 yards of fabric
Zip Ties
Hot glue gun & glue sticks
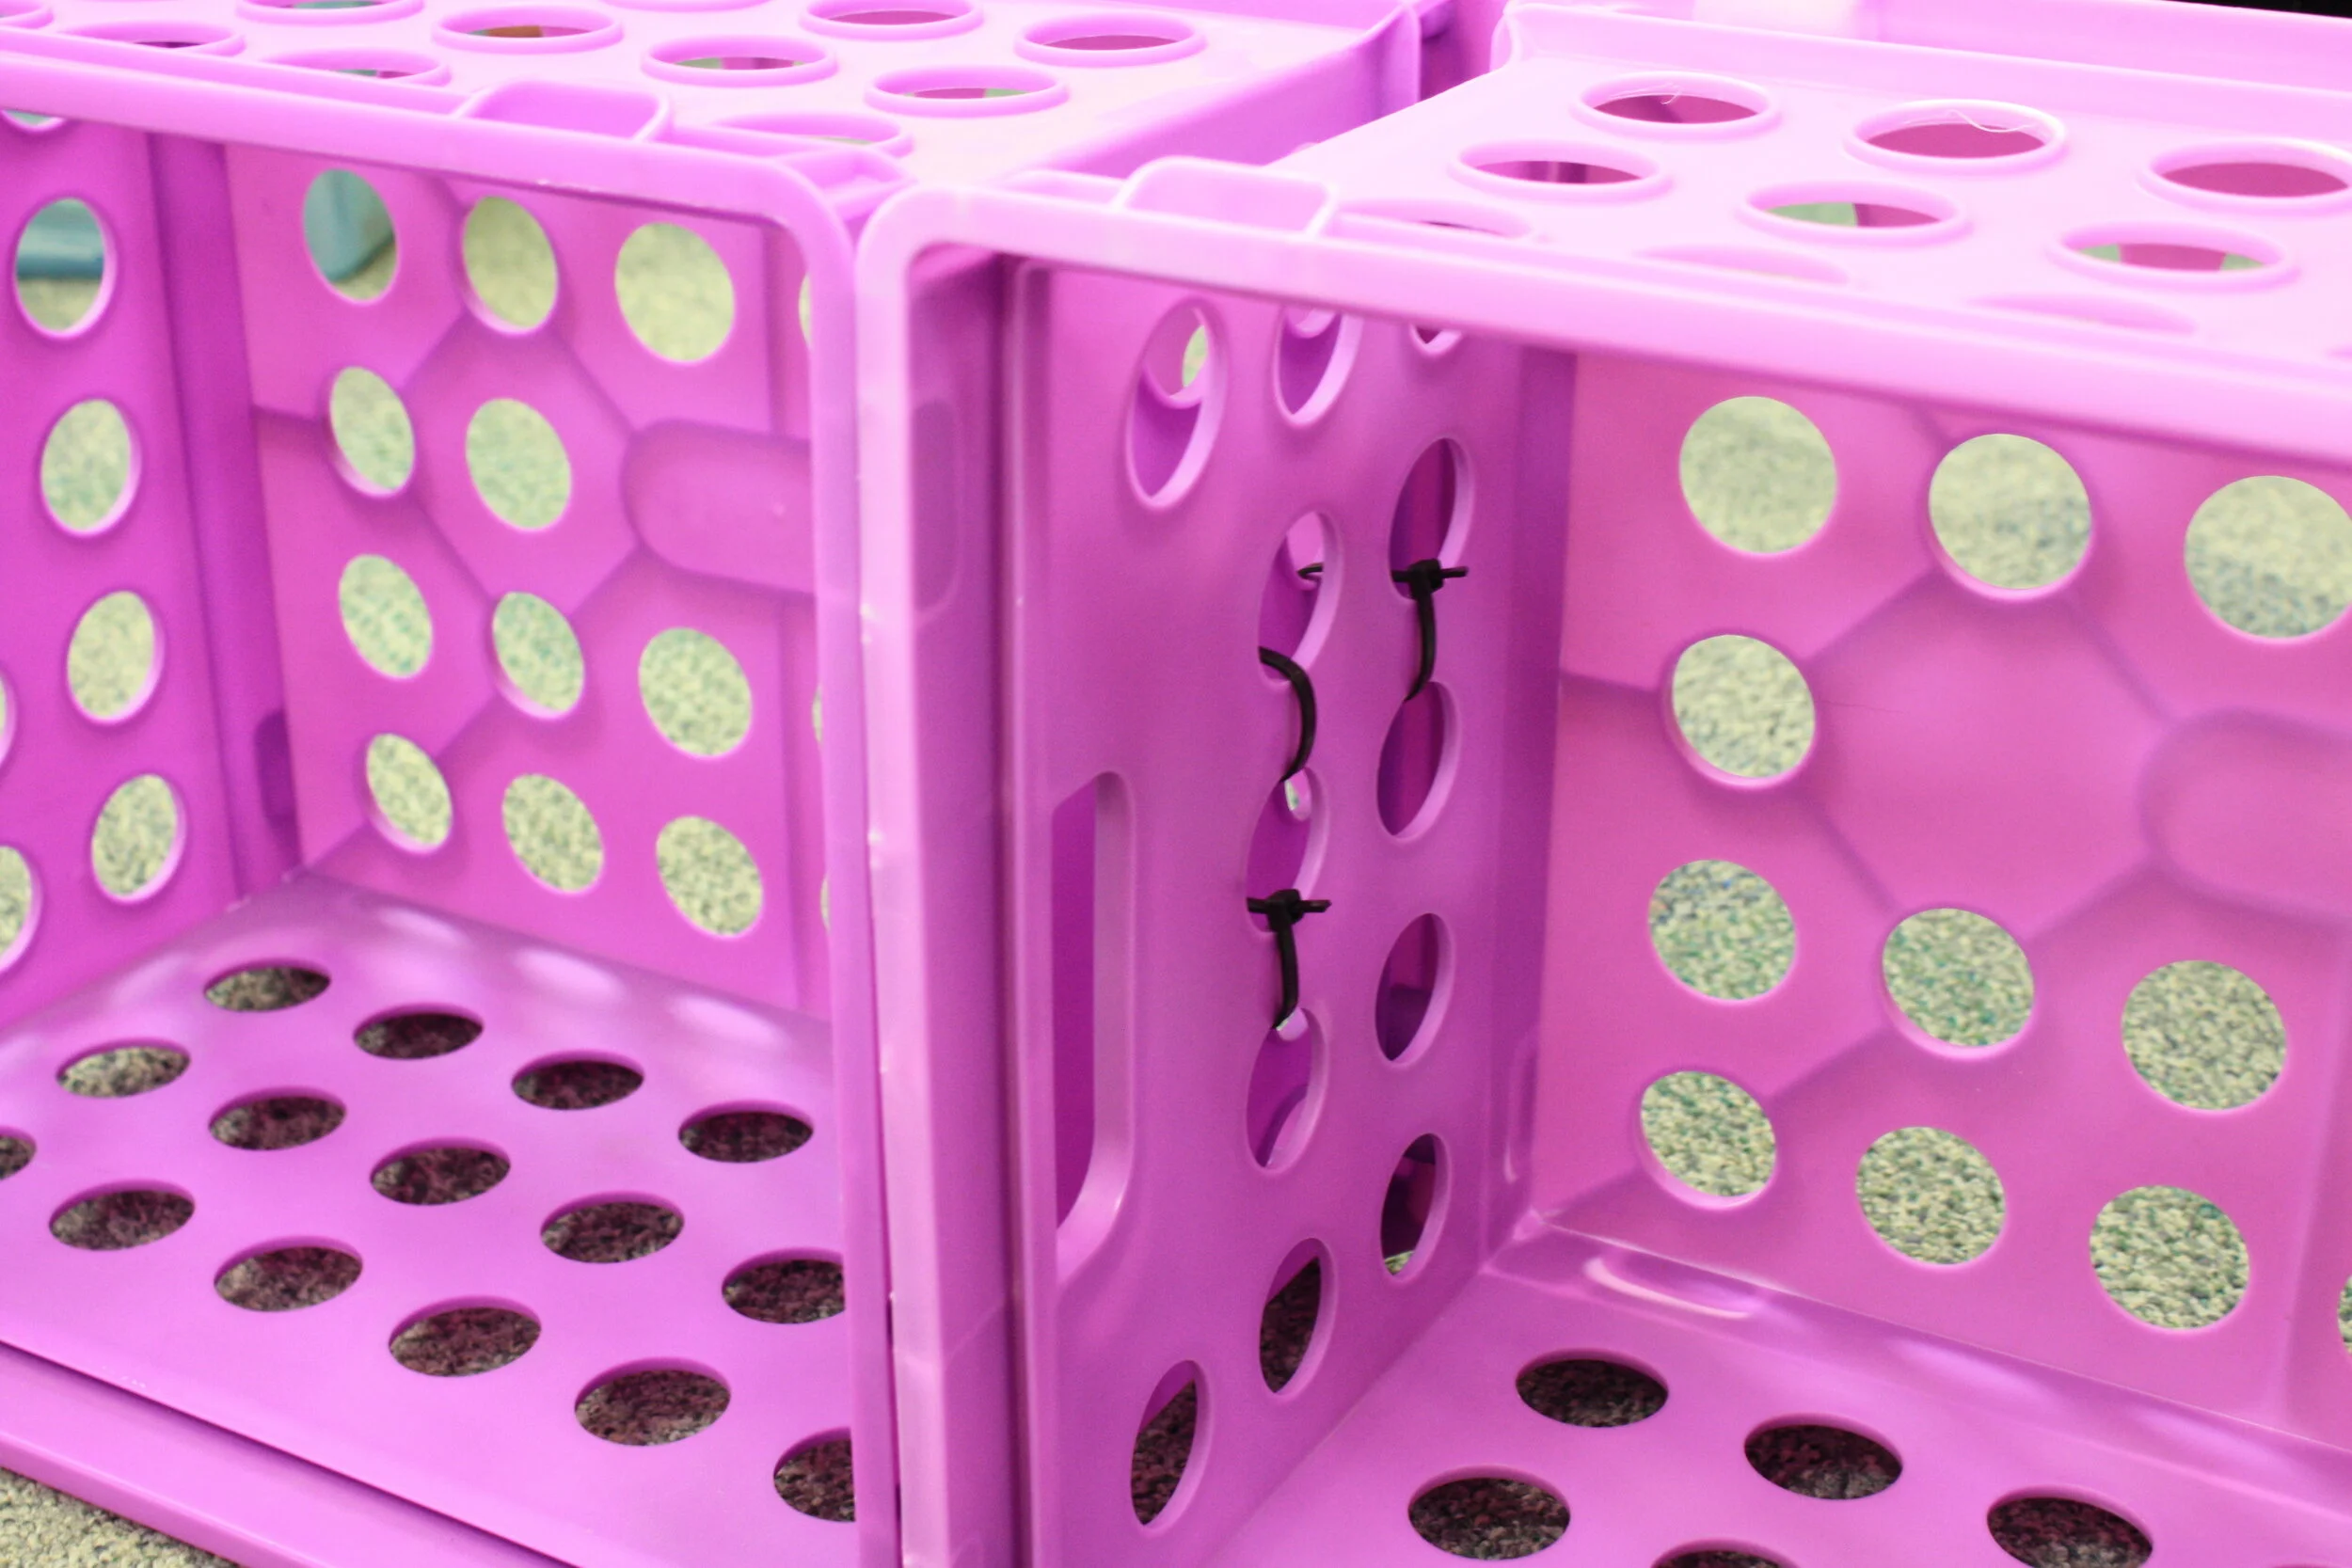
First, zip tie your crates together. I used three zip ties to connect each crate.
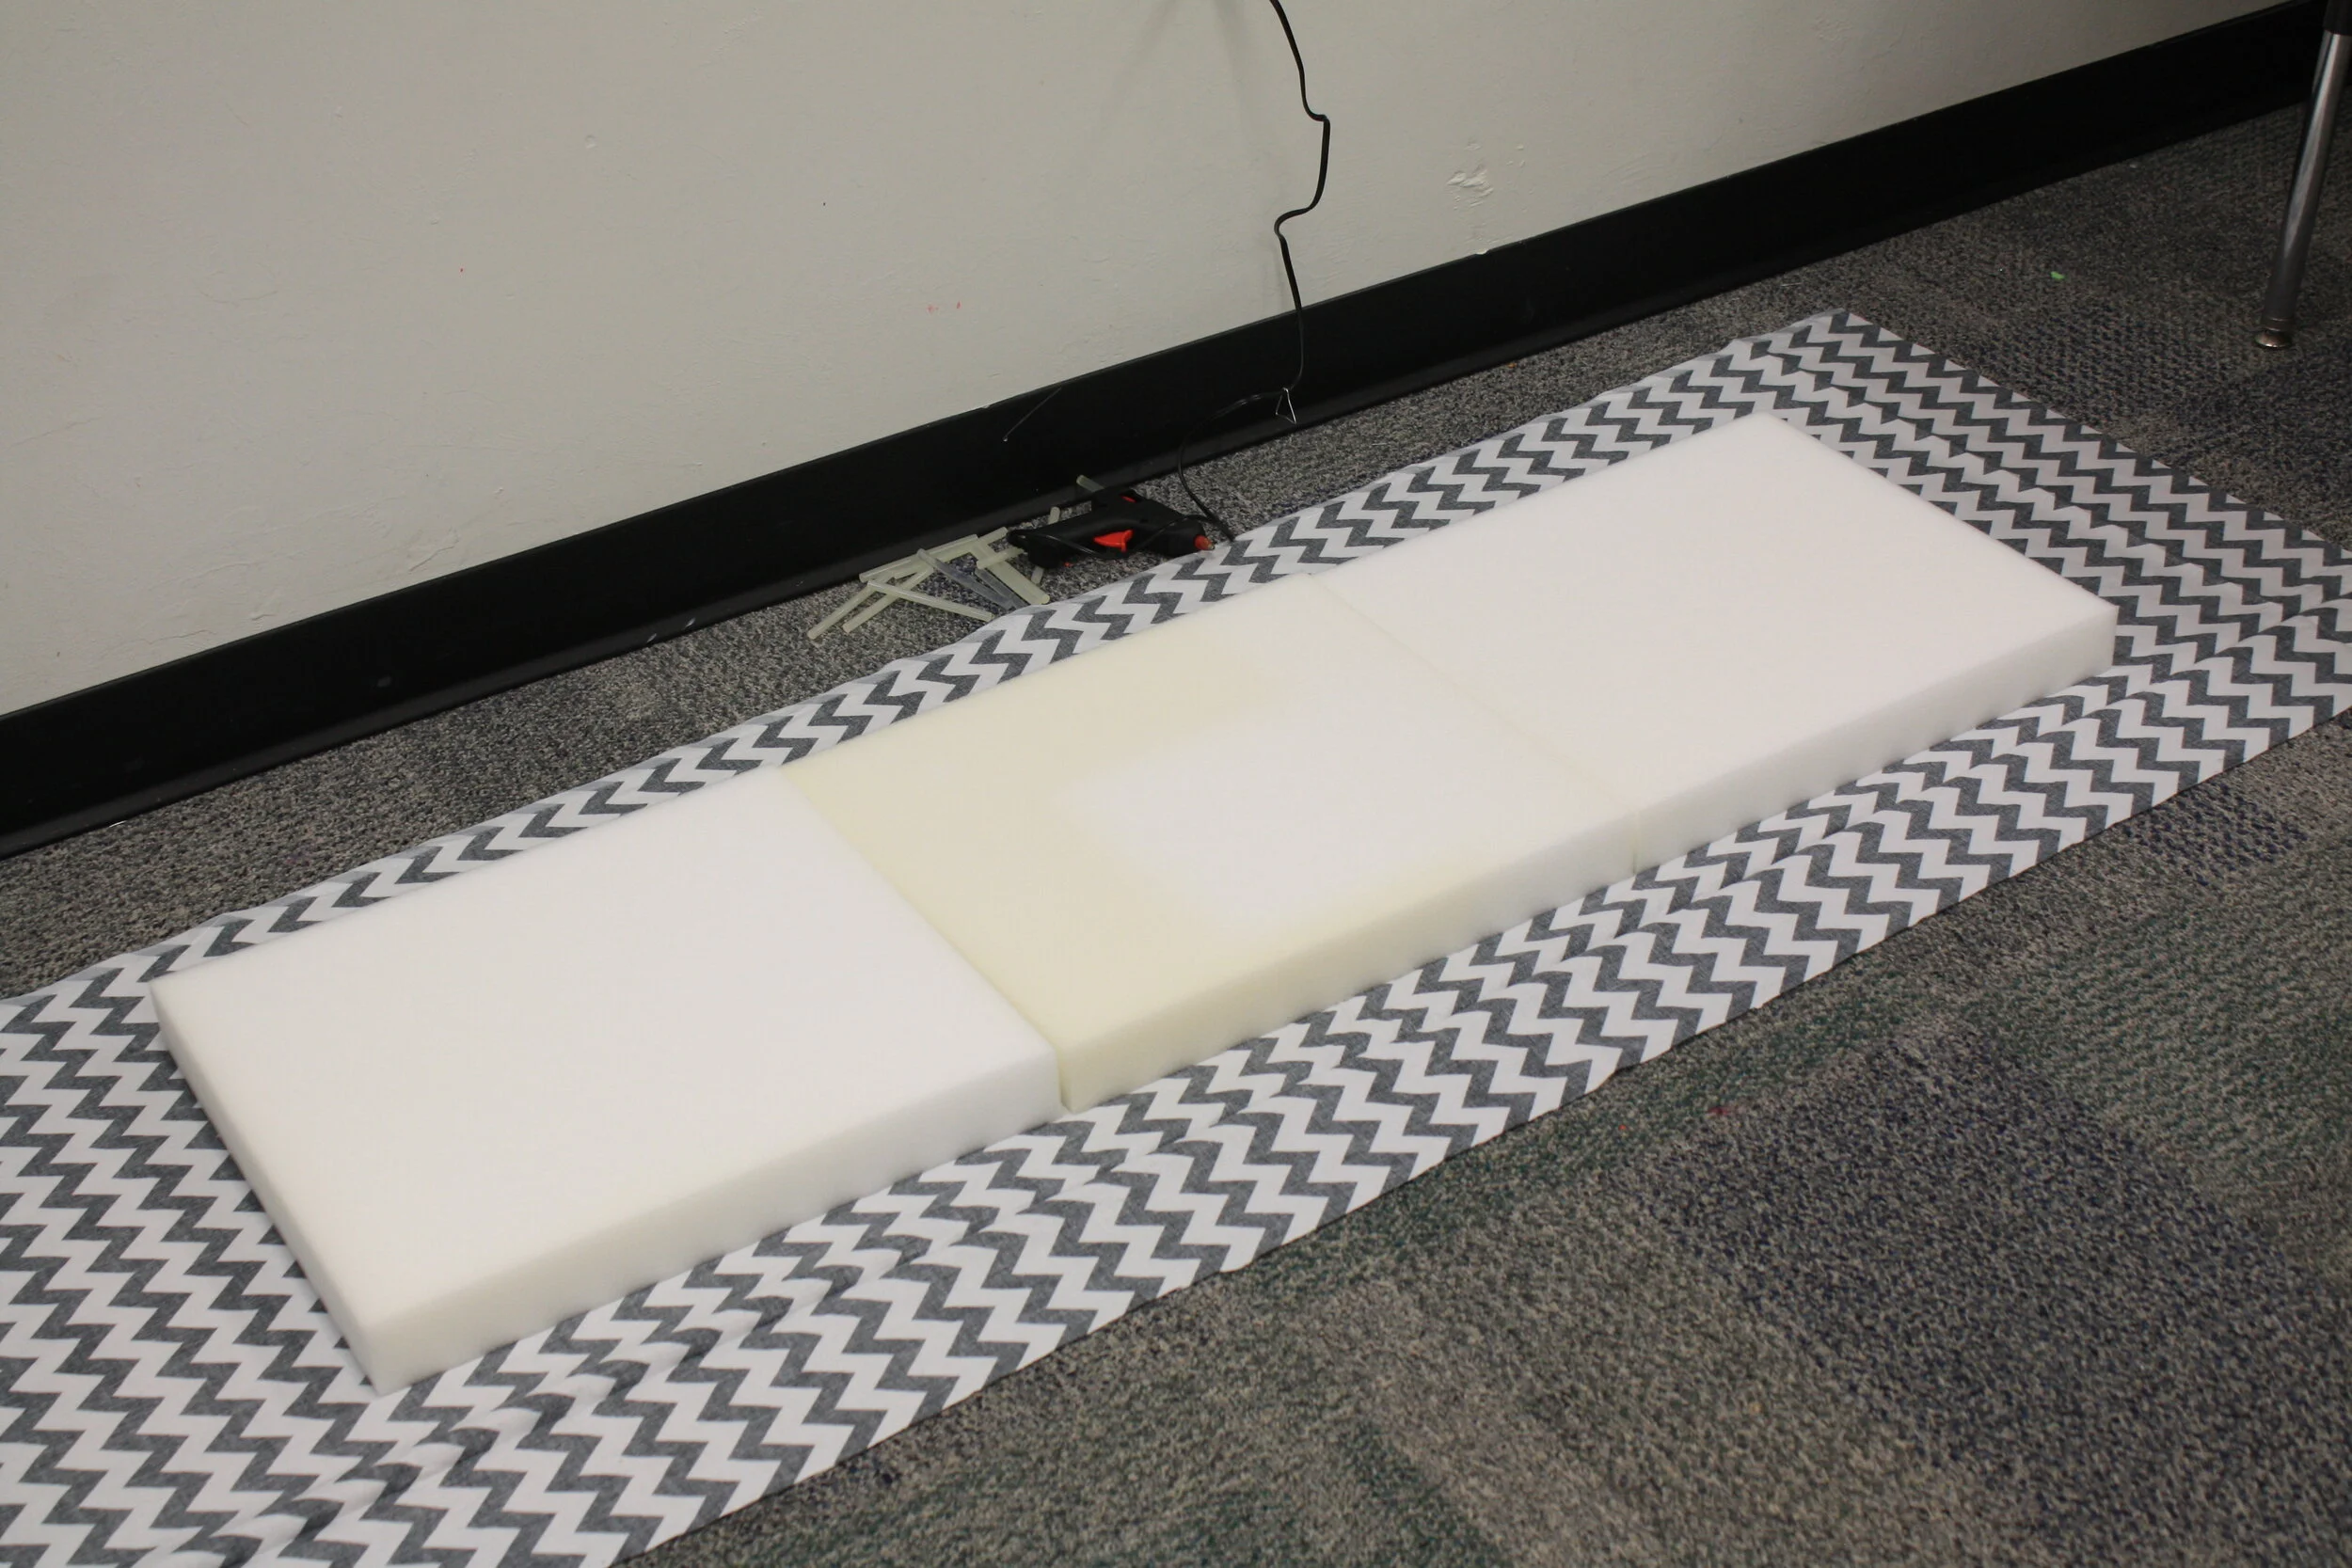
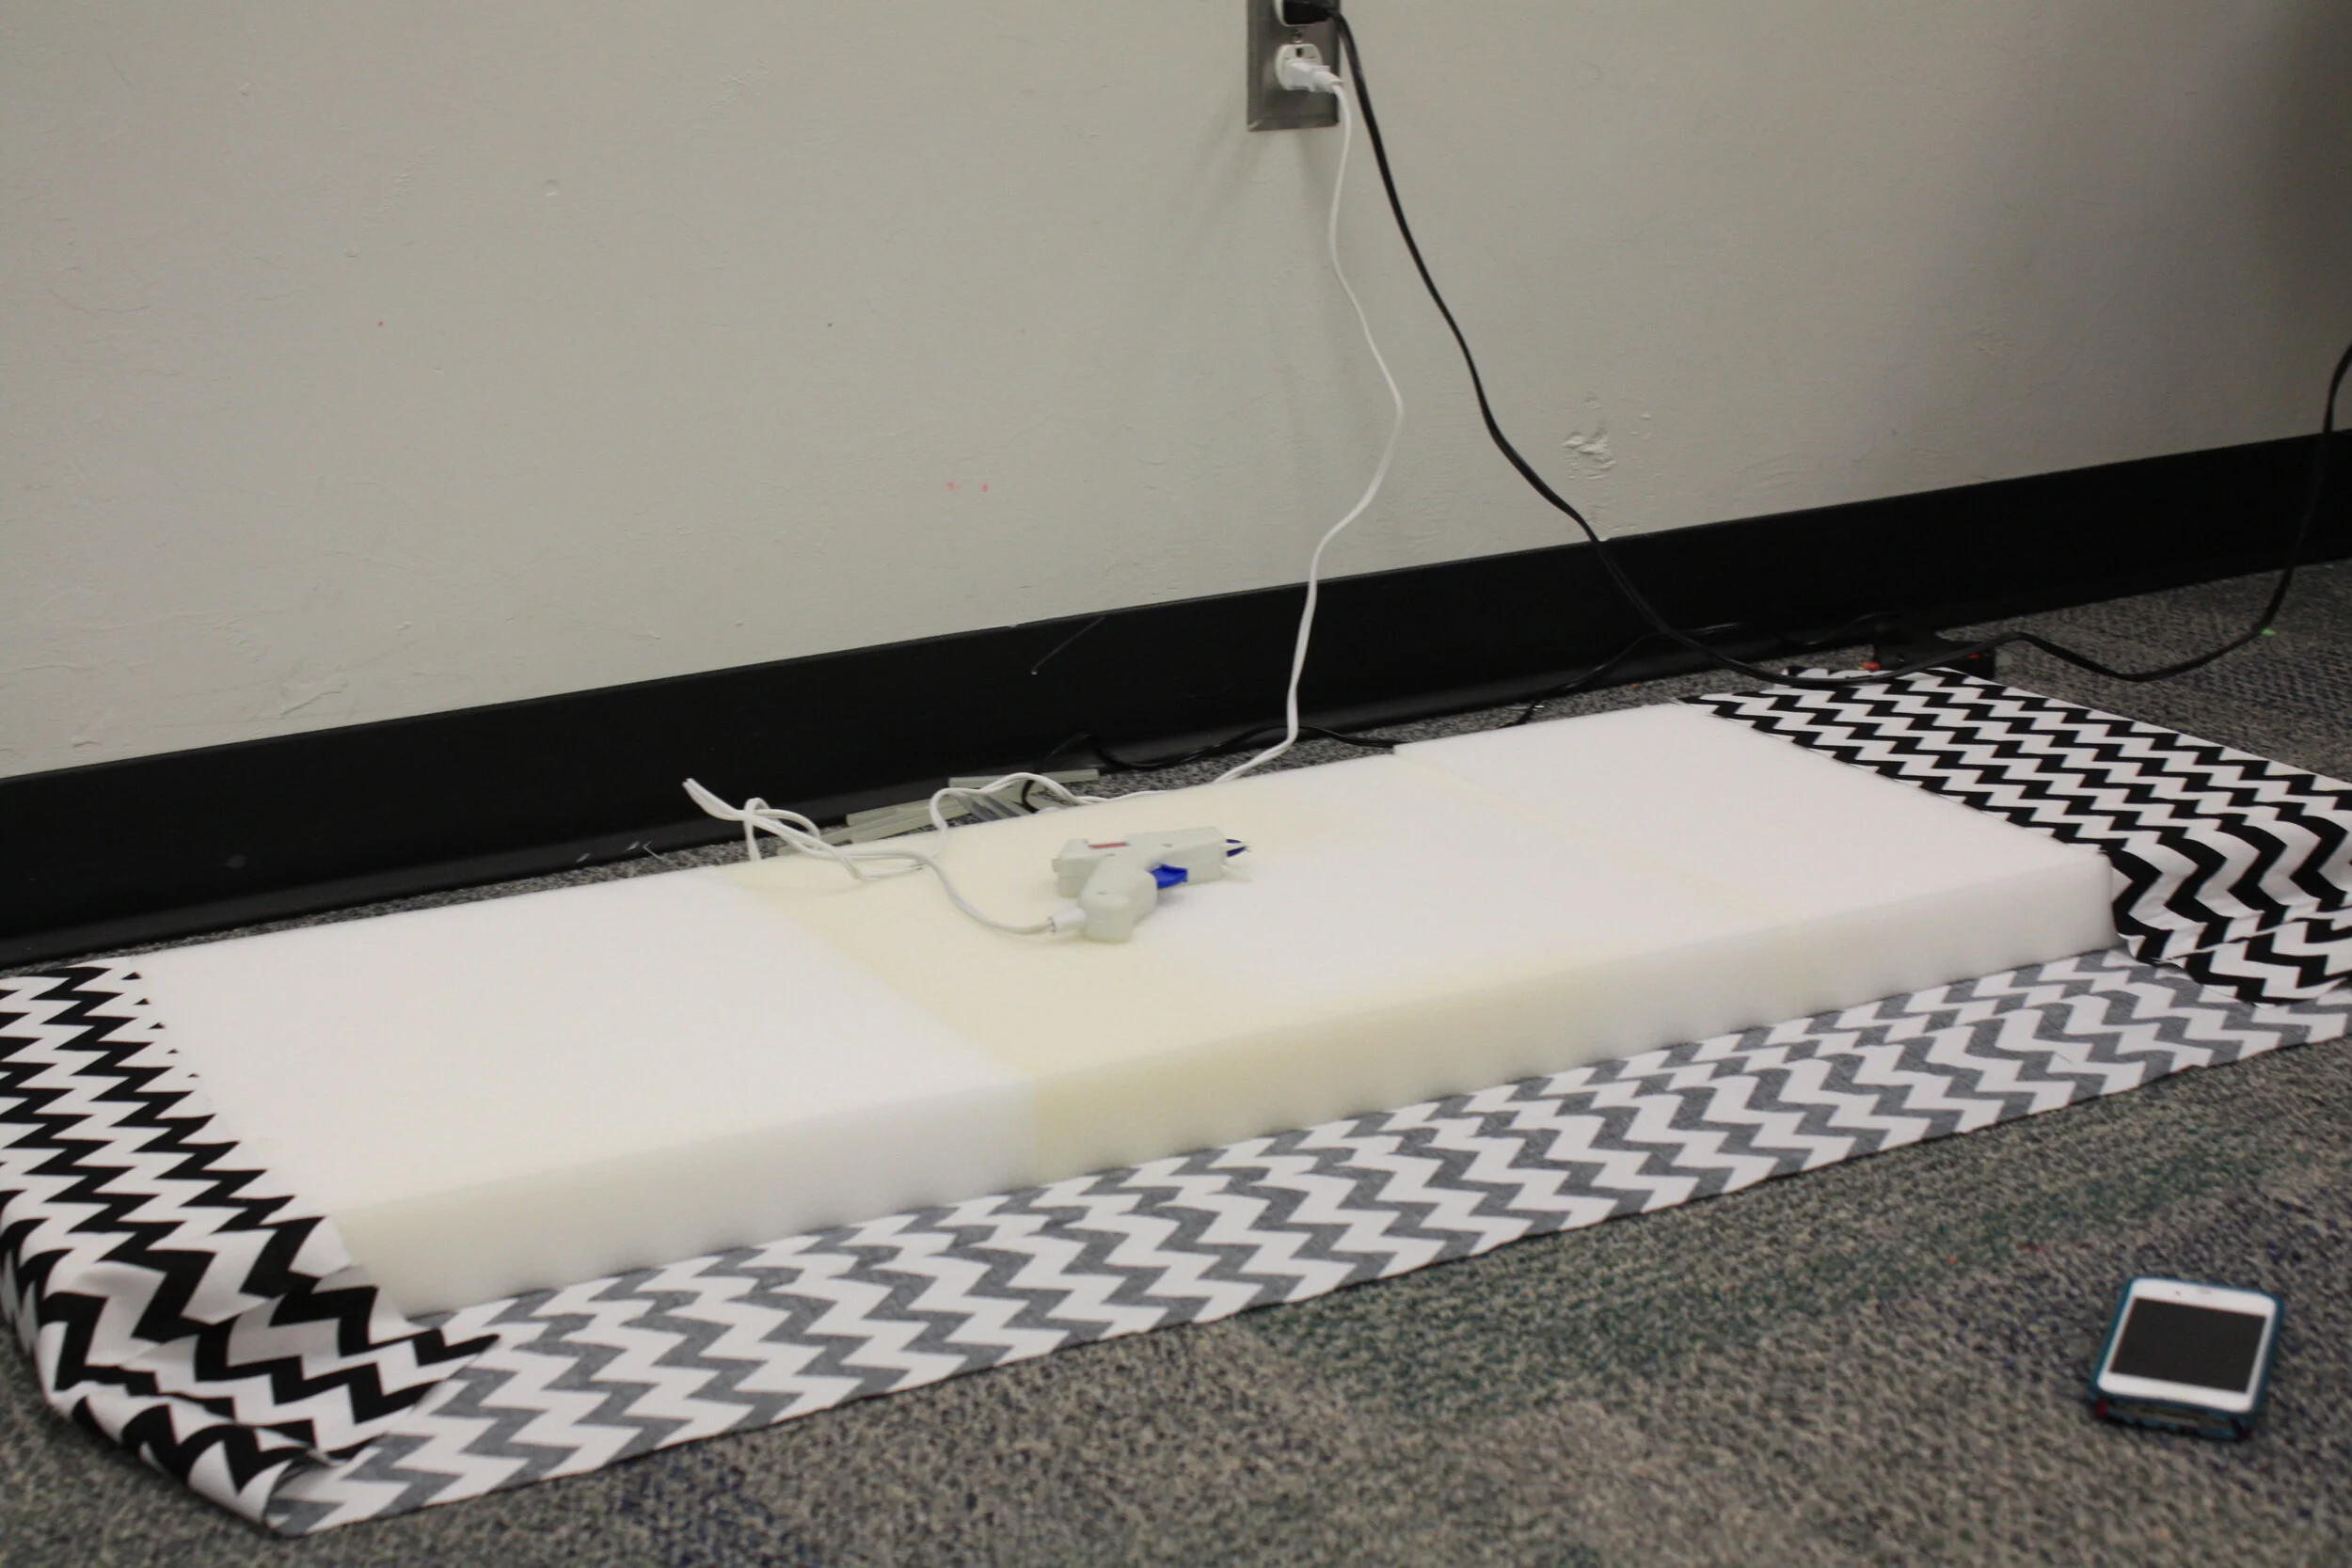
Then, lay your fabric upside down on the ground. Place your foam in the middle. I ended up cutting a little fabric off that I didn't need. I have big plans for the scraps. ;)
I did the ends first - it was easiest this way. Make sure you pull the fabric tight, and just use hot glue to adhere the fabric to the foam. Then continue wrapping the fabric around the foam, just like you're wrapping a present! :) Just keep remembering that the fabric should be tight!!!
My fingers were a burnt mess by this point. Hazards of the job.
This is when I started getting excited!! I NEVER do any projects involving fabric -- I own a sewing machine that was given to me by my grandmother, but have zero clue how to use it. I might be able to stitch up some pants... maybe... if I really wanted to. Anyway, I was excited that this seemed to be turning out okay, since fabric is something I never work with!
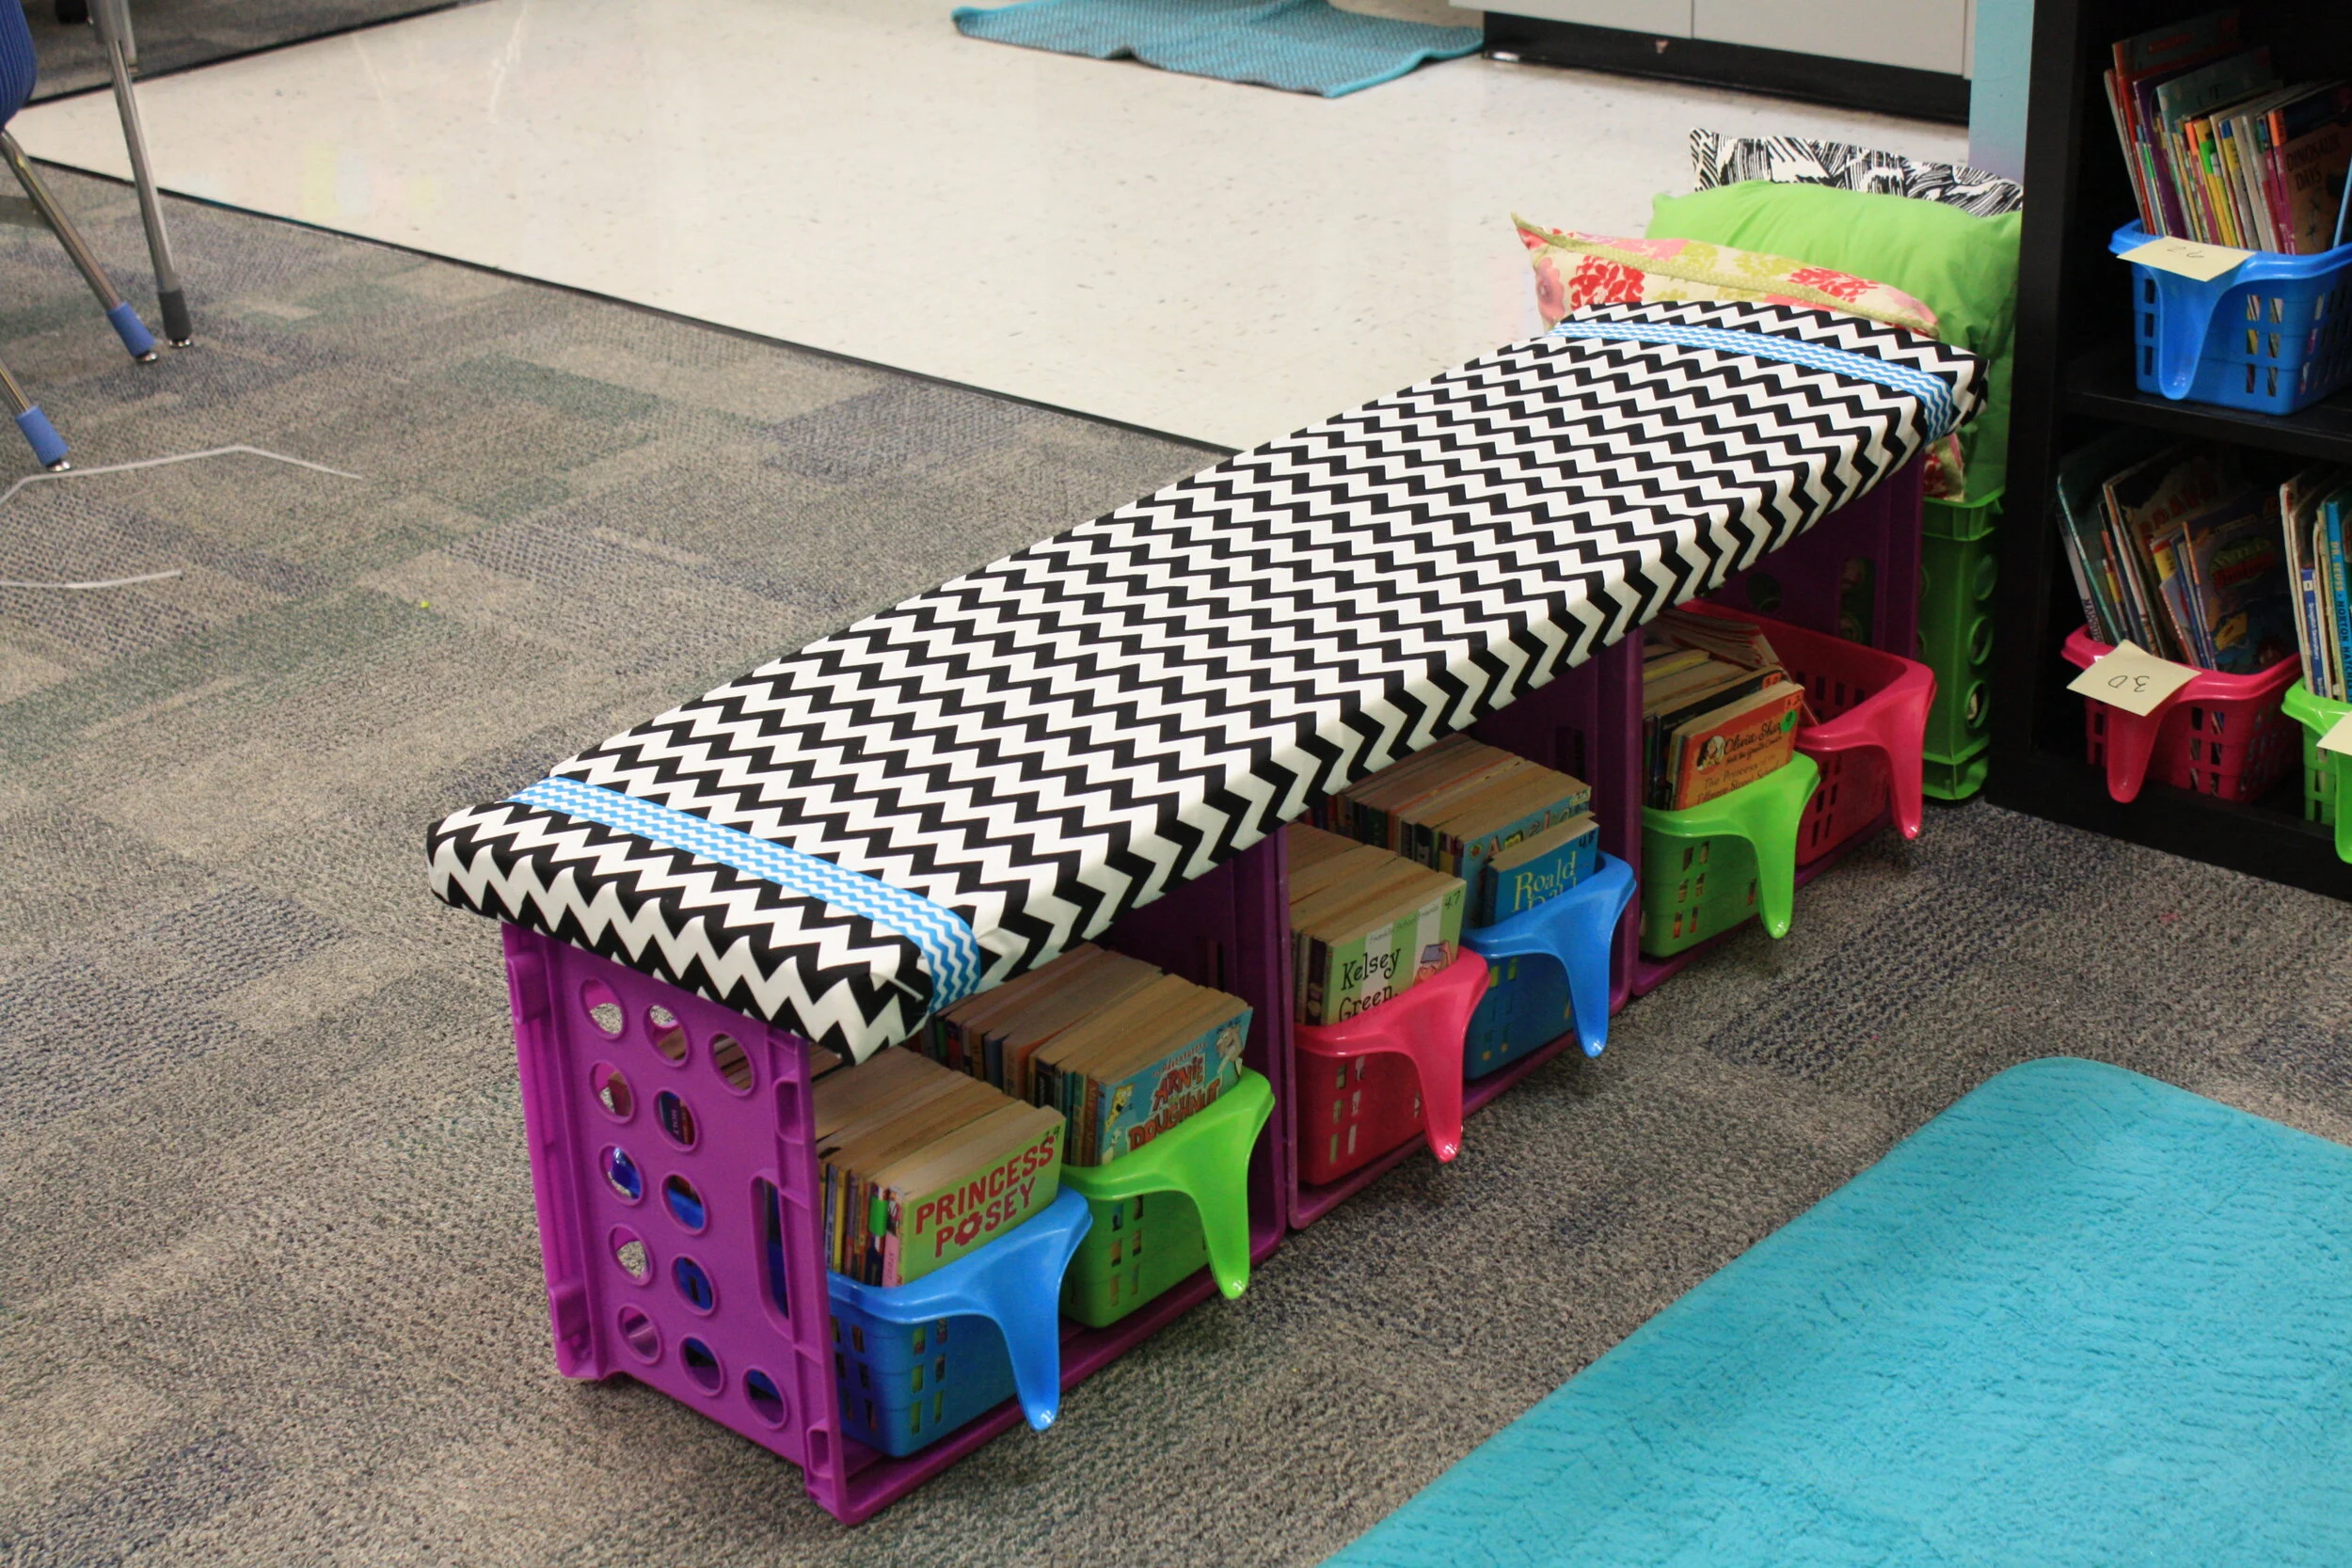
Then, just add it on top of your crates!!! I didn't want the cushion sliding around too much, so I came up with a quick and easy way to take care of that. I just looped some ribbon around the cushion and crate to "tie" it together. It does the job!
Here's the finished product -- complete with the ribbon! I love that it doubled as more shelf space for some chapter books.
UPDATE: Many of you have wanted to know how it’s held up! For the most part it’s been great. I teach second grade, so we had a rule that only 1-2 students could sit on it at a time. It held up surprisingly well. You could also add a wooden board underneath the cushion for more support. If worst comes to worst, you could replace your crates every year or two.


